How to Resize Image Dimensions Online (Width, Height & Aspect Ratio)
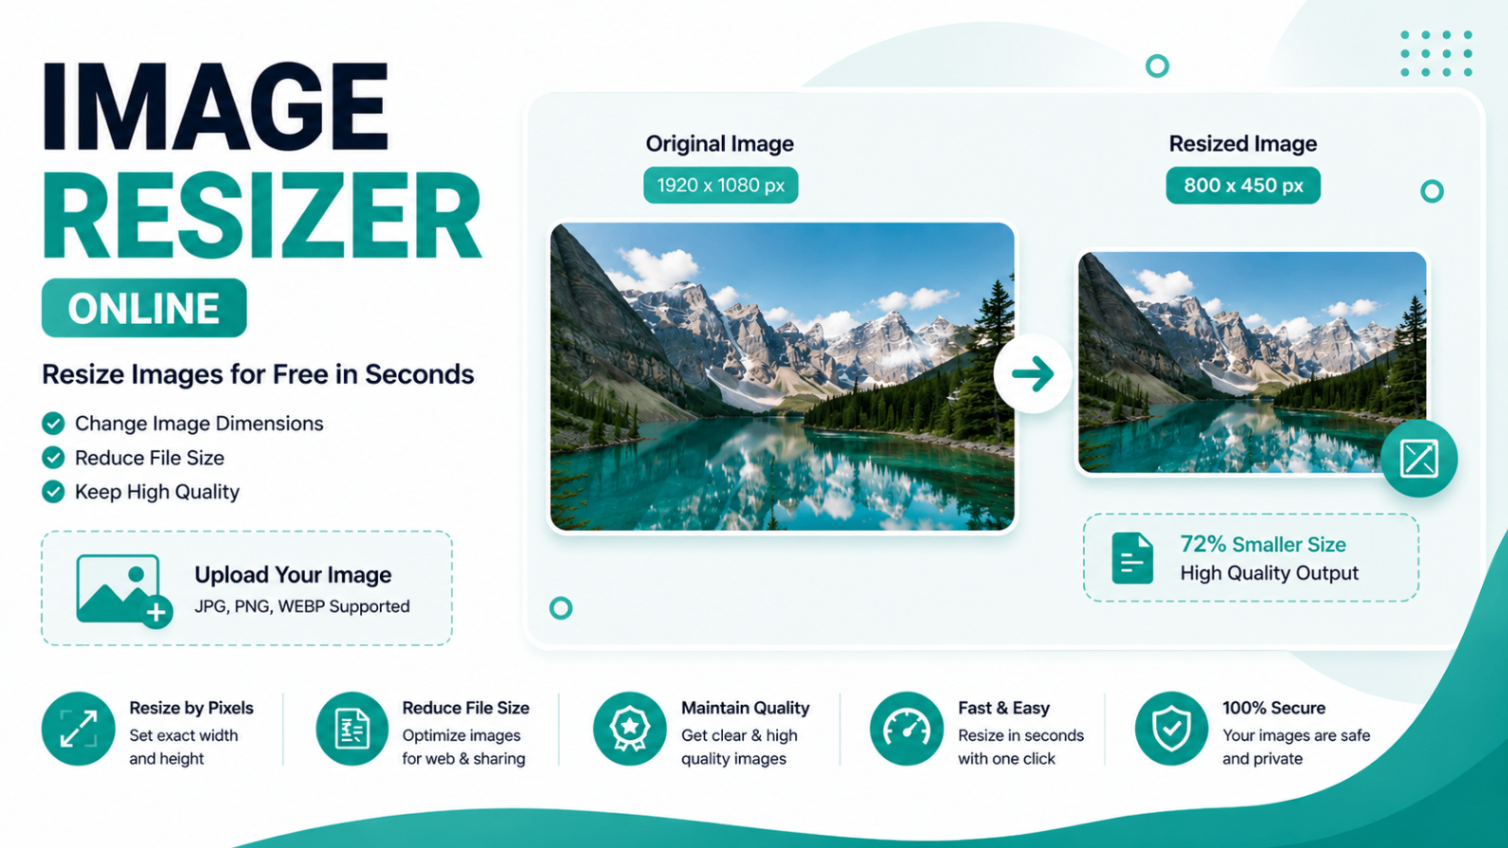
Resizing an image means changing its dimensions — the width and height measured in pixels. Whether you need a 1080×1080 square for Instagram, a 1280×720 thumbnail for YouTube, or a photo trimmed to an exact pixel size for an upload form, getting the dimensions right is the difference between a crisp image and a blurry, stretched one. This guide explains how image dimensions work and how to resize any photo correctly using the free Calcon Image Resizer.
Dimensions vs. file size: an important distinction
People often confuse two different things. Resizing changes an image's dimensions (e.g. 4000×3000 px down to 800×600 px). Compressing changes the file size in kilobytes without changing the dimensions. They are related — smaller dimensions usually mean a smaller file — but they are not the same operation.
This guide is about dimensions. If your only requirement is a smaller file — for example "the photo must be under 100 KB" for an exam or job form — that is a file-size task, and the Calcon Image Compressor is the right tool for it. Many form uploads need both: the correct pixel dimensions and a file under a KB limit. In that case, resize first, then compress.
Understanding image dimensions
A digital image is a grid of pixels. Its dimensions are written as width × height — so 1920×1080 means 1920 pixels across and 1080 pixels down. More pixels means more detail, but also a larger file. The goal when resizing is to match the dimensions your destination actually needs, and no more.
A common mistake is keeping images far larger than necessary. A 4000 px-wide photo displayed in a spot only 800 px wide is carrying about 25 times more pixel data than it can ever show — wasted size with no visible benefit.
Aspect ratio: why locking it matters
Aspect ratio is the proportional relationship between width and height — for example 16:9 (widescreen), 1:1 (square), or 4:3. When you resize, keeping this ratio constant is what stops your image from looking stretched or squashed.
That is exactly what the Lock Aspect Ratio toggle does. With it enabled, you change one dimension — say the width — and the height updates automatically to keep the proportions perfect. Turn it off only when you deliberately want to force an image into dimensions that don't match its original shape (which will distort it).
Resizing by pixels vs. by percentage
The Calcon resizer lets you set new dimensions two ways, and each suits a different situation:
• Pixels (px) — use this when a platform requires an exact size, such as a 1280×720 YouTube thumbnail or a 600×600 product image. You type the precise numbers you need.
• Percentage (%) — use this when you just want the image proportionally smaller or larger. Entering 50% gives you half the original width and height; 25% gives you a quarter. It's the quickest way to shrink a batch of photos to a consistent scale.
Recommended dimensions for popular platforms
If you're resizing for social media or a profile picture, these are the sizes to enter in the width and height fields. Each already uses a clean aspect ratio, so keep Lock Aspect Ratio on:
Platform / Use | Recommended Dimensions | Aspect Ratio |
Instagram post (square) | 1080 × 1080 px | 1:1 |
Instagram story / reel | 1080 × 1920 px | 9:16 |
YouTube thumbnail | 1280 × 720 px | 16:9 |
Facebook cover photo | 851 × 315 px | ≈2.7:1 |
Twitter / X header | 1500 × 500 px | 3:1 |
LinkedIn profile photo | 400 × 400 px | 1:1 |
WhatsApp display picture | 192 × 192 px | 1:1 |
One rule to protect quality: don't enlarge beyond the original
Reducing an image's dimensions keeps it sharp, because you're discarding pixels you don't need. Enlarging is different — asking the tool to make a 500 px image into a 2000 px one forces it to invent pixels that were never captured, which looks soft and blocky. The safe rule: resize down freely, but avoid scaling an image far above its original dimensions. If you need a larger sharp image, start from a higher-resolution original.
Choosing a format while you resize
The Calcon resizer can also change format in the same step, which is handy. As a quick guide: choose JPEG for photographs, PNG when you need a transparent background or sharp text and logos, and WEBP for web use — it produces noticeably smaller files than JPEG at the same visual quality, which helps your pages load faster.
How to resize an image on Calcon (step by step)
1. Open the Image Resizer and drag your photo into the upload box, or click to browse. JPG, PNG, WEBP, GIF and BMP are all supported.
2. Enter your target width and height in pixels, or switch to percentage mode to scale proportionally.
3. Keep Lock Aspect Ratio enabled so the image keeps its proportions and doesn't stretch.
4. Pick your output format (JPG, PNG or WEBP). For JPG and WEBP you can also adjust the quality slider.
5. Click Resize Image and download the result. Everything runs inside your browser, so your photo never leaves your device.
Frequently asked questions
How do I resize an image to exact dimensions?
Open the resizer, enter the precise width and height in pixels, keep Lock Aspect Ratio on if you want to avoid distortion, then click Resize Image and download. This is ideal when a platform demands a specific size like 1080×1080 px.
What's the difference between resizing by px and by %?
Pixel mode sets exact dimensions, which is best when a fixed size is required. Percentage mode scales relative to the original — 50% halves both width and height — which is best for quickly shrinking images proportionally.
Why does my image look stretched after resizing?
That happens when the aspect ratio changes — the width and height were scaled by different amounts. Enable Lock Aspect Ratio before entering dimensions so both stay in proportion.
Does resizing reduce image quality?
Reducing dimensions keeps an image sharp. Quality only suffers noticeably if you enlarge a small image well beyond its original size. For the best balance when exporting JPG or WEBP, keep the quality slider around 80–90%.
I just need a smaller file, not smaller dimensions. What should I use?
That's a compression task. Use the Image Compressor to reduce file size while keeping the dimensions, or resize first and then compress if you need both.
Can I resize images on my phone?
Yes. The tool is fully browser-based and works on Android and iOS — upload from your gallery, resize, and download, with no app to install.
Ready to resize? Open the Free Online Image Resizer and set your dimensions in seconds — free, no signup, processed entirely in your browser.
Related Tools

Get new tools & guides
Occasional updates, no spam.